How To Get More Leads On WhatsApp
Welcome, folks!!! In this lesson, we will learn how to get more leads on WhatsApp. Adding Social Share buttons, and WP Generator is a sure way to drive more traffic and increase sales. Let’s get you started.
WhatsApp Social Share Button
Business owners share their content online along with the products and services they offer. Businesses without social media accounts miss out on the opportunity to promote their products with the people who are always browsing through social media.
With millions of people who are using social media these days, it is very much possible to attract and find your target market through different social media platforms.
If you have a business, it is essential now more than ever to have social media accounts on various platforms.
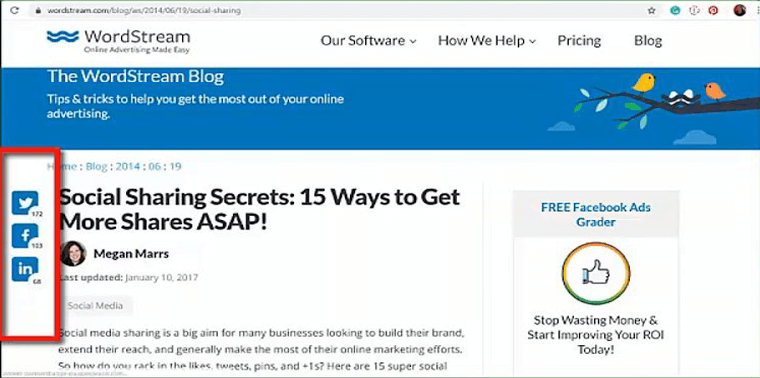
If you have a website or a blog, it is always recommended that you incorporate share buttons on your website or blog that your audience will be able to click on to know more about you and your business. The various icons of social media platforms on the websites and blogs are a direct link to their social media platforms like Facebook, Twitter, Pinterest, etc.
Incorporating Social Share buttons to your blogs or websites can hugely benefit you and your business. It will open the possibilities of attracting different demographics of your target market.
It can help your business attract people who stumble upon your websites when they search a particular keyword on search engines like Google. If the visitor likes your blog/website, they can immediately share it with their friends/family on different social media platforms using these social share buttons.
Let’s show you to add social share buttons on your WordPress website.

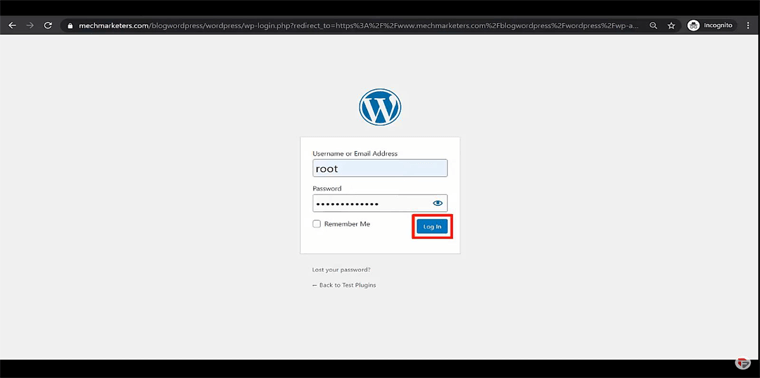
Log in to your WordPress account.
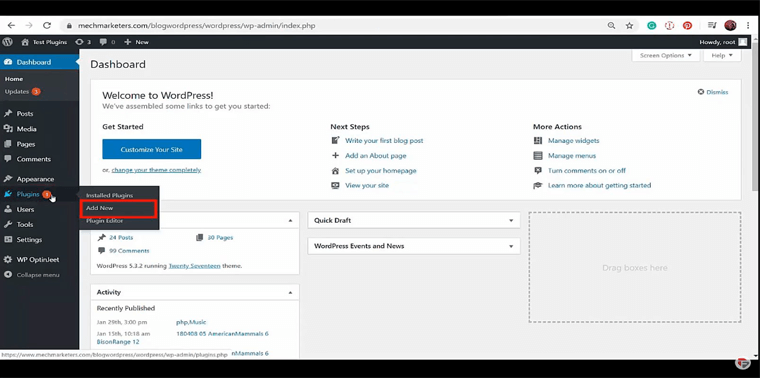
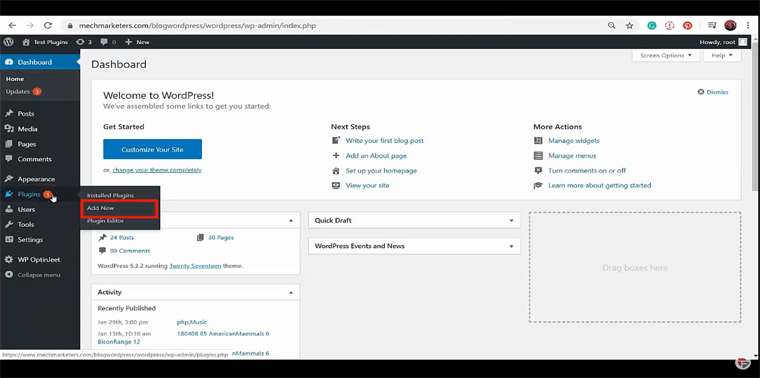
On the Dashboard, click on Plugins. Click on Add New.
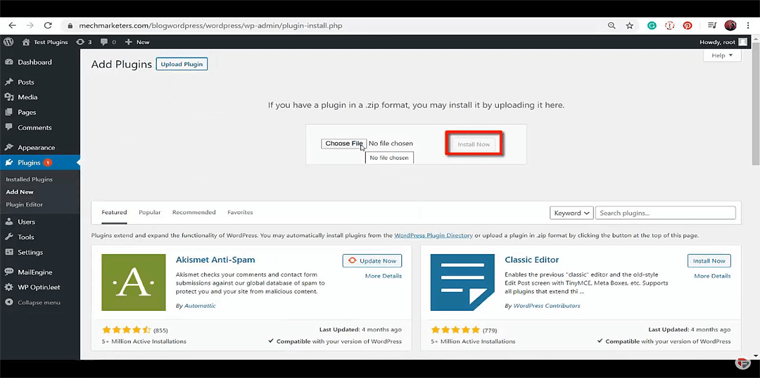
On this page, you can look for various plugins that you can add to your website.
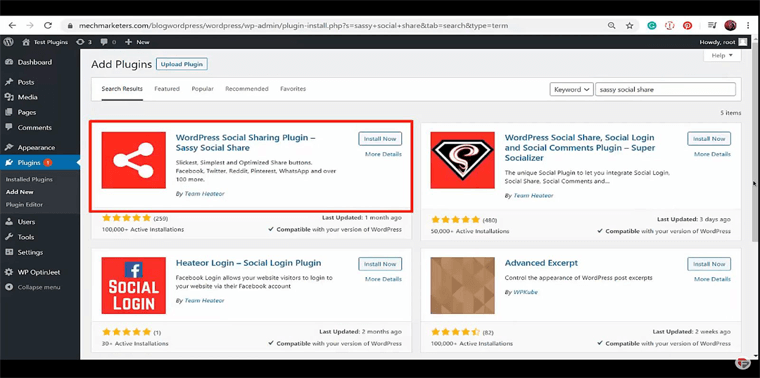
Search the plugin Sassy Social Share. Click on the plugin.
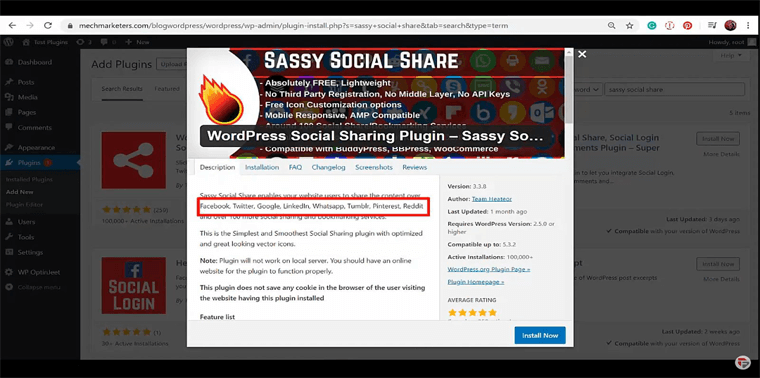
Read the description of the plugin and confirm whether this plugin supports your social media accounts.
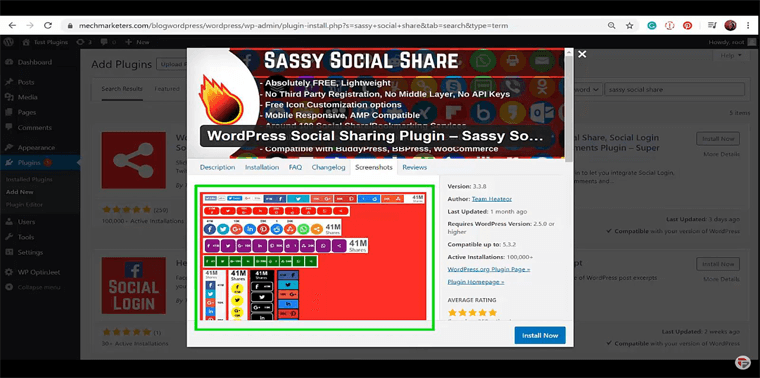
Click on the Screenshots tab. Here you can have a preview of the social media icon that you can add to your WordPress site.
Click on
Install Now.
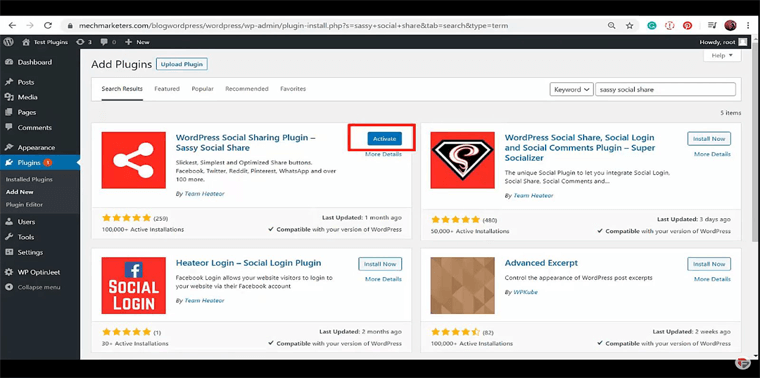
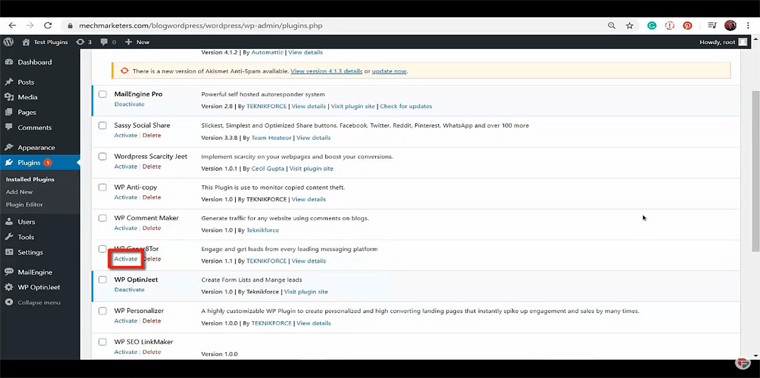
After the plugin is installed, click on Activate to begin using the plugin.
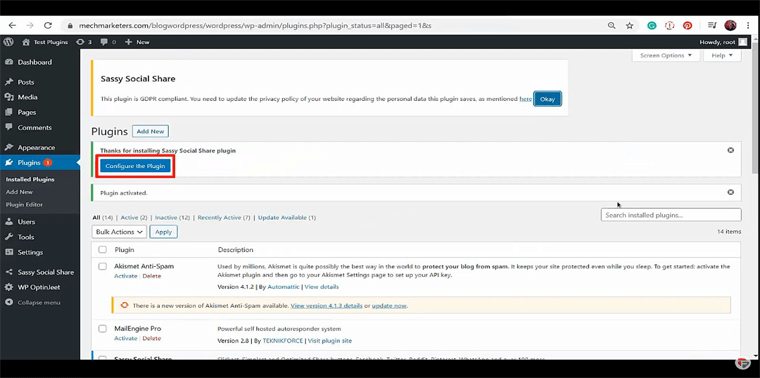
Click on Configure the Plugin. On clicking the button, you will be redirected to the plugins page where you can learn how to use the plugin.
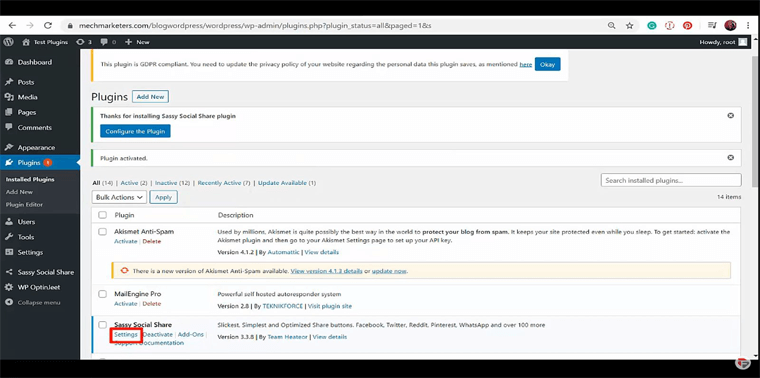
Scroll down the page, and click on Settings of Sassy Social Share plugin.
You will be directed to the settings page of the plugin.
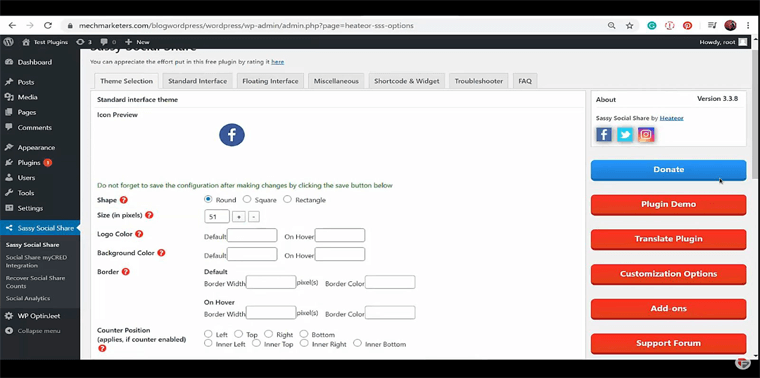
Under the Theme Selection tab, you can manage the shape and size of the button.
You can get the icon preview as you make changes to it.
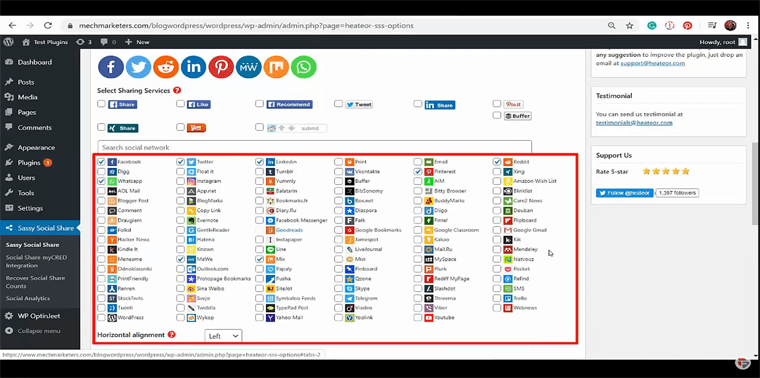
In the Standard Interface tab, you can choose social media platforms that you can add to your social share button.
To add any platform, check the box before the name of the social media platform. Drag the icons to rearrange the order.
Let us now test the plugin.
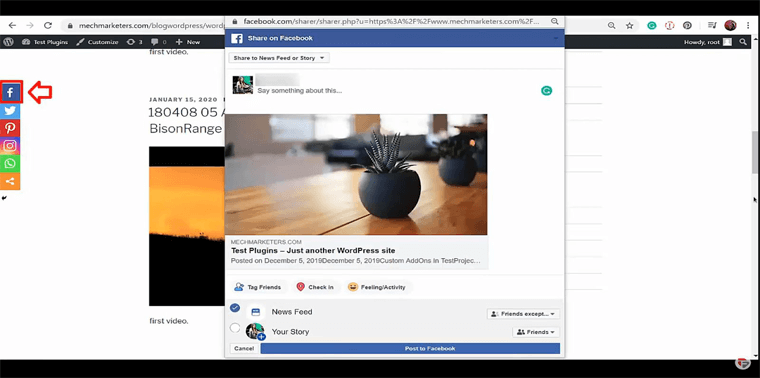
As you can see, the social share buttons have been added to the page.
Click on any of these social media icons. A pop-up window of that social media platform will open where you can share your WordPress site. Similarly, you can share your WordPress site on other platforms using these social share buttons.
We have successfully managed to add social share buttons to our WordPress website.
WP8 Generator

Your websites can get more traffic if you use the right tools. There are several tools that can help your website fetch more visitors/followers and turn them into potential customers. If managed perfectly, these potential customers can easily be turned into loyal regular customers.
WP8 Generator can help your business generate more sales. You can further set it and leave on auto-pilot. If you use this plugin on your website, you won’t have to keep pushing people to visit your website or to follow you on social media platforms. The WP8 Generator plugin helps you in getting free targeted traffic that will help you gain more profit in your business.
Let’s show you how to use this plugin.
Log in to your WordPress account.
On the Dashboard, click on Plugins.
Click on Add New.
Click on Upload Plugin.
Upload the zip file of your plugin from your Google Drive, and click on Install Now.
Click on Activate.
A new option WP8 Generator will be added to the Dashboard.
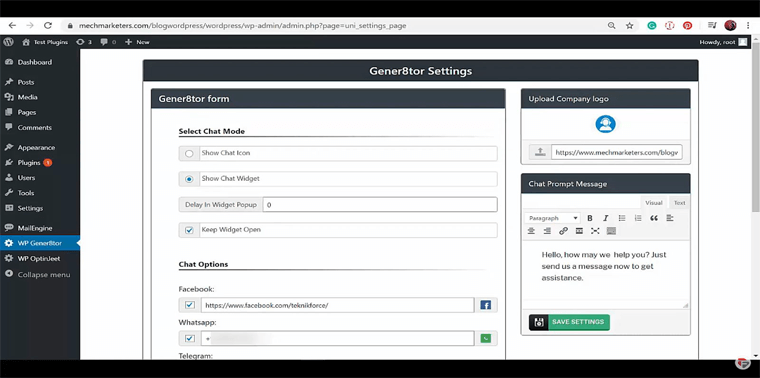
Click on WP Generator on the Dashboard. On this page, you can manage Generator Settings.
You can choose to display a chat icon or a chat widget.
For now, let us choose to add a chat icon.
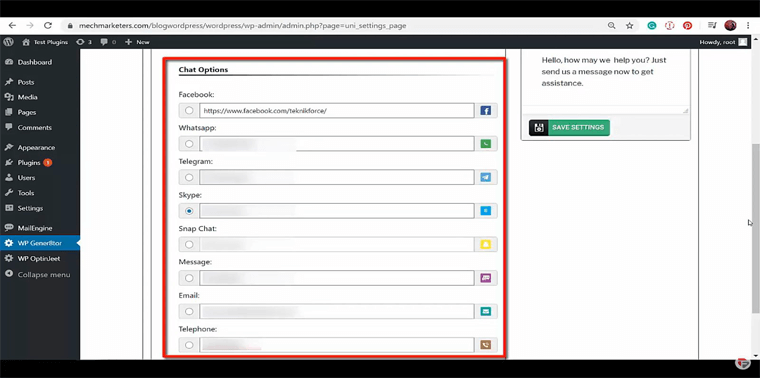
Here you can choose all the social media platforms that your viewers can use to reach you via chat.
If you choose Facebook, you will need to enter the URL of your Facebook profile. Add your WhatsApp contact number if you want your customers to reach you on WhatsApp and similarly for other platforms.
For now, enter the URL of your Facebook profile. Click on Save Settings.
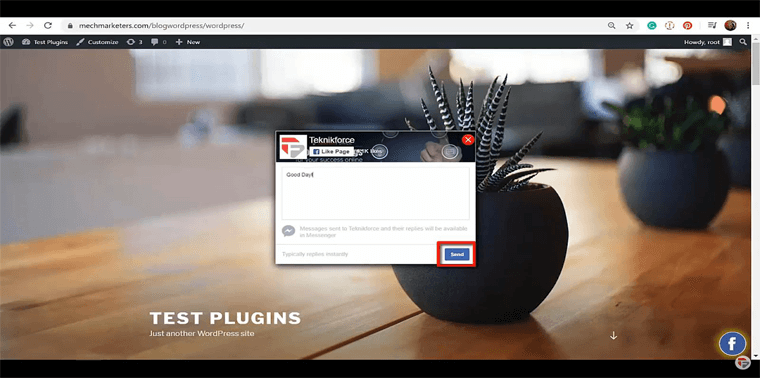
As you can see, a Facebook icon has been added to WordPress.
Your visitors can click on this icon to start sending you messages. They must be logged in to Facebook to begin the conversation.
Remember that in Generator Settings we chose Show Chat Icon as chat mode. This feature can be used if you want to display only one icon on your WordPress, be it Facebook, WhatsApp, Telegram, etc. This feature only lets you add one social media platform.
If you wish to display multiple social media channels on your WordPress, you need to select Show Chat Widget as the chat mode.

Customers will have the option to contact you using different social media channels.
WP Generator is an essential tool for business owners to help them increase their website traffic, increase conversions from potential customers to regular customers, and eventually boost sales. This tool comes handy, especially when you have a WhatsApp Business account that your customers can use to reach you. Adding a WhatsApp chat icon on your WordPress will definitely encourage your customers to send you messages and get replies instantly.
If you wish to add this plugin, you can access the link in the description of the video.
Favoriting A Message
When you have built a huge following on your social media platforms and incorporated the WhatsApp share button on your website, there will definitely be an increase in the number of inquiries that you will receive on WhatsApp. You might even get overwhelmed with the number of messages that you receive. It can be stressful to search for messages that you need to get back to and respond to each of their concerns.
In such a situation, you can use the Starred Messages feature in WhatsApp. This feature is available for both the WhatsApp Business app and the WhatsApp Personal app.
To access Starred Messages in your WhatsApp, open the app.
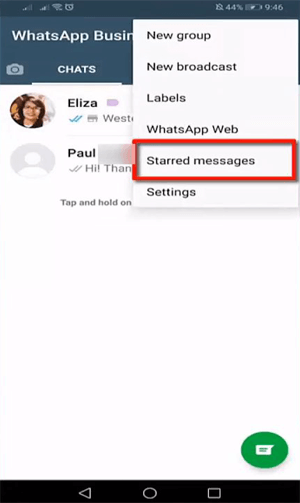
Tap on Starred Messages.
On the next screen, you can access all your starred messages.
To set Starred Messages, open the chat window of the contact.
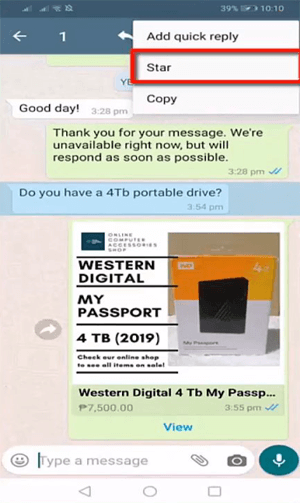
Find the message that you need to bookmark to get back to it later.
Tap and hold on to that message. Tap on Star.
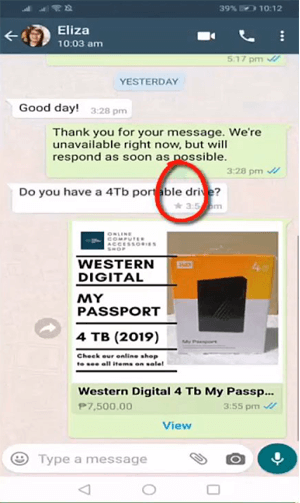
Now you have a starred message. You can differentiate starred messages from other messages with the star icon.
Open Starred messages in WhatsApp.
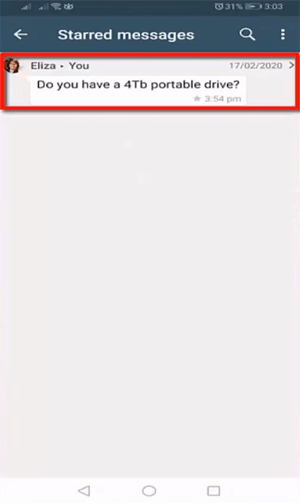
Here you can view all the starred messages. Tap on the message and you will be redirected to the chat containing the message.
If you have starred in many messages, you can search for a particular message if you remember any of the words in the message.
Type the word form in the search box. Note that you can only look for the content of the starred messages using the search box, and not by entering the sender’s name.
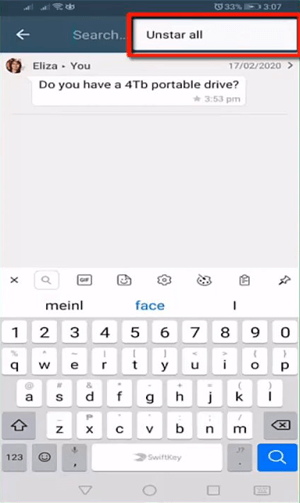
To unstar all the messages in one click, tap on Unstar All.
A pop-up window asking for confirmation will appear. Tap on Unstar.
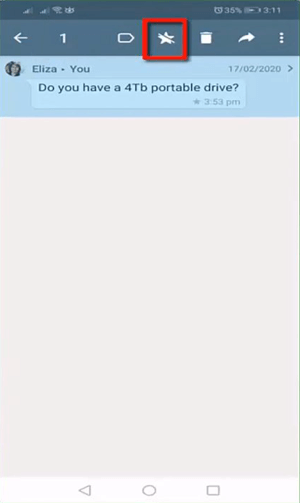
You can directly forward star messages from this page. Further, you can unstar, delete, or add a label to the message.
As you tap on the three vertical dots, you can view additional features.
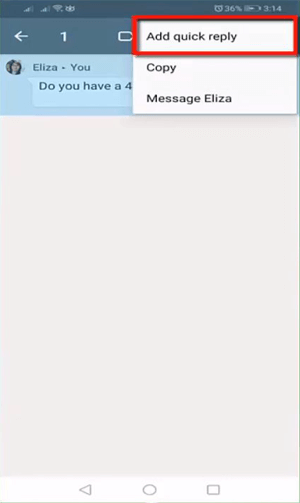
You can add a quick reply, copy, or message the contact directly.
Tap on Add quick reply to see how it’s done.

In this window, you can set predefined messages in one of your quick replies. Tap on Save.
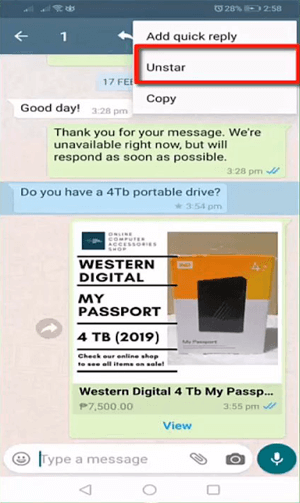
To unstar a message, select the message and tap on Unstar.
That’s it. We have successfully learned about Starred Messages in WhatsApp and how to bookmark important messages using this feature. This feature is useful whenever you are busy and decide to respond to the
message later. Your contact will not know if you have starred any of their messages.
Statistics
WhatsApp Business is entirely free to use. It has many features that are not available on the WhatsApp Personal app. Businesses can use these features to grow their brand.
WhatsApp Business has another feature that acts as message insights. WhatsApp Business Statistics helps business owners determine the messages that they send in a group, broadcast lists, or individual chats are sent successfully, delivered, and read by the recipients.
Open the WhatsApp Business app on your phone.
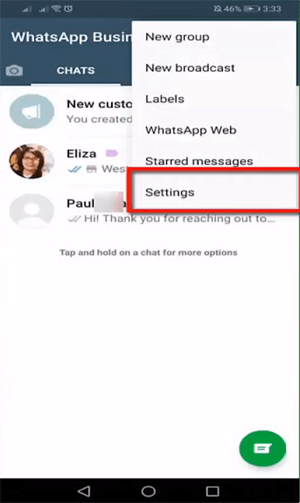
Tap on Settings.
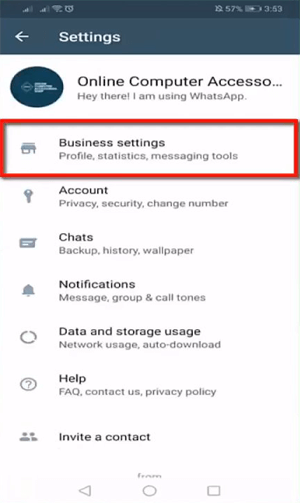
Tap on Business Settings.
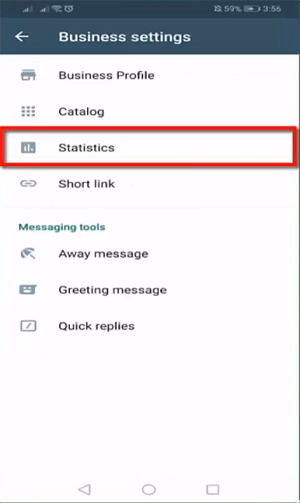
Tap on Statistics.
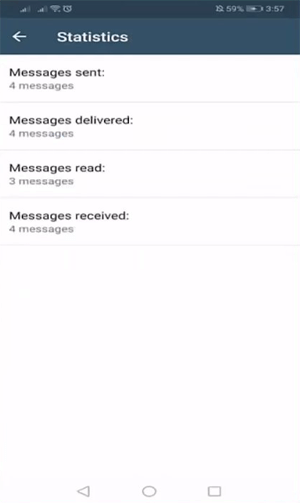
The Statistics page displays the insights into the number of messages that have been sent, delivered, read, and received.
Business Statistics feature will help you understand your customers’ engagement with your messages.
Messages Sent: It gives the number of messages that you have sent.
Messages delivered: It gives the number of messages that have been delivered.
Messages read: It gives the number of messages that are opened and viewed by the recipients.
Messages received: It gives the number of messages
If the messages sent are not equal to the number of messages received, it might be due to interrupted internet connection.
If you see that the number of messages sent is not equal to the number of messages read, you may interpret that some of your customers are not interested in receiving your promotional messages.
Looking at these figures will help you understand your customers’ engagement with you. These simple metrics will help you determine the performance of your WhatsApp Business app.
That’s it, folks!!! We have successfully learned how to get more leads on WhatsApp. Hope you found the lesson helpful. In the next lesson, we will learn how to use WhatsApp Web on your computer. Stay tuned!